
Table of Contents
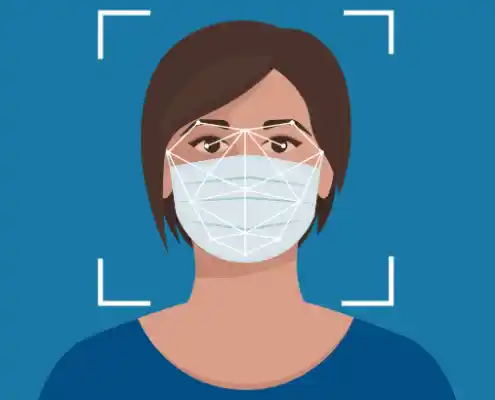
The COVID-19 pandemic has highlighted the importance of face mask usage in reducing virus transmission. With the increase in mask mandates worldwide, developing a face mask detection system has become a relevant and impactful project. Using TensorFlow, OpenCV, and Python, in this blog, we will guide you through building a simple yet effective face mask detection system.
By the end of this tutorial, you’ll have a working application that can identify whether individuals are wearing masks or not.
1. Introduction
Face mask detection systems can be deployed in various applications, such as enhancing public safety at entrances, monitoring social distancing, and ensuring compliance with health regulations. By utilizing TensorFlow for deep learning and OpenCV for image processing, we can create an efficient solution.
2. Prerequisites
Before diving into the implementation, ensure you have the following installed:
- Python 3.x
- TensorFlow
- OpenCV
- NumPy
- Matplotlib
You can install these libraries using pip:
pip install tensorflow opencv-python numpy matplotlib3. Setting Up Your Environment
- Create a new directory for your project and navigate to it in your terminal.
- Set up a virtual environment (optional but recommended):
   python -m venv mask_detection_env
   source mask_detection_env/bin/activate  # On Windows, use `mask_detection_env\Scripts\activate`
4. Dataset Preparation
For our face mask detection system, we need a dataset that contains images of people wearing masks and not wearing masks. There are various datasets available online, but we’ll use the “Face Mask Detection Dataset” which is accessible via Kaggle or other repositories.
- Download the dataset and unzip it into your project directory.
- The dataset should contain directories for images labeled as “with_mask” and “without_mask”.
- Directory Structure:
   mask_detection_project/
   ├── dataset/
   │   ├── with_mask/
   │   └── without_mask/
   ├── train.py
   ├── detect_mask.py
   └── test.py
5. Model Training
5.1. Data Preprocessing
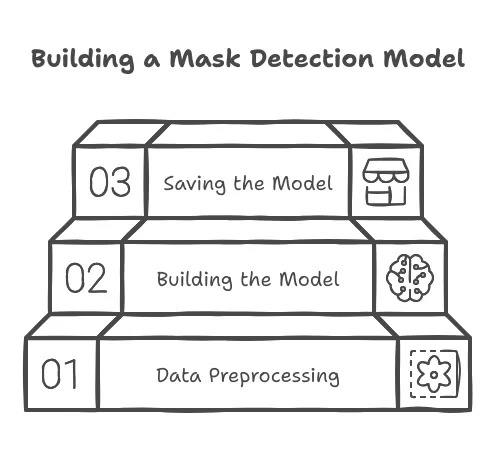
We will first load our images and split them into training and testing datasets. Here’s how you can do that in Python:
import os
import cv2
import numpy as np
from sklearn.model_selection import train_test_split
from keras.utils import to_categorical

# Paths to the dataset directories
mask_dir = 'dataset/with_mask/'
no_mask_dir = 'dataset/without_mask/'

# Create lists to hold our data and labels
data = []
labels = []

# Load images
for image_path in os.listdir(mask_dir):
    img = cv2.imread(os.path.join(mask_dir, image_path))
    img = cv2.resize(img, (100, 100))  # Resize to fit model input
    data.append(img)
    labels.append(1)  # 1 for 'with_mask'

for image_path in os.listdir(no_mask_dir):
    img = cv2.imread(os.path.join(no_mask_dir, image_path))
    img = cv2.resize(img, (100, 100))
    data.append(img)
    labels.append(0)  # 0 for 'without_mask'

# Convert to numpy arrays
data = np.array(data, dtype="float") / 255.0  # Normalize pixels [0, 1]
labels = np.array(labels)

# One-hot encode labels
labels = to_categorical(labels, num_classes=2)

# Train-test split
X_train, X_test, y_train, y_test = train_test_split(data, labels, test_size=0.2, random_state=42)
5.2. Building the Model
Now that we have our data prepared, let’s build a simple CNN model using Keras.
from keras.models import Sequential
from keras.layers import Conv2D, MaxPooling2D, Flatten, Dense, Dropout

# Create a new Sequential model
model = Sequential()

# Add layers to the model
model.add(Conv2D(32, (3, 3), activation='relu', input_shape=(100, 100, 3)))
model.add(MaxPooling2D(pool_size=(2, 2)))
model.add(Conv2D(64, (3, 3), activation='relu'))
model.add(MaxPooling2D(pool_size=(2, 2)))
model.add(Conv2D(128, (3, 3), activation='relu'))
model.add(MaxPooling2D(pool_size=(2, 2)))
model.add(Flatten())
model.add(Dense(128, activation='relu'))
model.add(Dropout(0.5))
model.add(Dense(2, activation='softmax'))  # Two classes: with mask, without mask

# Compile model
model.compile(optimizer='adam', loss='categorical_crossentropy', metrics=['accuracy'])

# Train the model
model.fit(X_train, y_train, validation_data=(X_test, y_test), epochs=10, batch_size=32)
5.3. Saving the Model
Once the model is trained, we can save it for later use:
model.save('mask_detector.model')6. Building the Detection System
Next, let’s create a script to detect masks in real time using OpenCV and the trained model.
6.1. Real-Time Detection Script
Create a new file called detect_mask.py and add the following code:
import cv2
import numpy as np
from keras.models import load_model

# Load the model
model = load_model('mask_detector.model')

# Load the Haar Cascades for face detection
face_cascade = cv2.CascadeClassifier(cv2.data.haarcascades + 'haarcascade_frontalface_default.xml')

# Start video capturing
video_capture = cv2.VideoCapture(0)

while True:
    _, frame = video_capture.read()  # Capture frame
    gray = cv2.cvtColor(frame, cv2.COLOR_BGR2GRAY)  # Convert to grayscale
    faces = face_cascade.detectMultiScale(gray, scaleFactor=1.1, minNeighbors=5)

    for (x, y, w, h) in faces:
        face = frame[y:y + h, x:x + w]
        face = cv2.resize(face, (100, 100))
        face = np.expand_dims(face, axis=0) / 255.0  # Normalize

        # Make predictions
        preds = model.predict(face)
        label = 'With Mask' if preds[0][1] > preds[0][0] else 'Without Mask'
        color = (0, 255, 0) if label == 'With Mask' else (0, 0, 255)

        # Draw rectangle and label
        cv2.rectangle(frame, (x, y), (x + w, y + h), color, 2)
        cv2.putText(frame, label, (x, y - 10), cv2.FONT_HERSHEY_SIMPLEX, 0.9, color, 2)

    # Display the resulting frame
    cv2.imshow('Face Mask Detection', frame)

    # Exit with 'q'
    if cv2.waitKey(1) & 0xFF == ord('q'):
        break

# Release resources
video_capture.release()
cv2.destroyAllWindows()
7. Testing the Model
Once you have written your detection script, you can run it in your terminal:
python detect_mask.pyYou should see a window displaying your webcam feed, with rectangles drawn around detected faces and labels indicating whether the person is wearing a mask.
8. Conclusion
In this tutorial, we built a face mask detection system using TensorFlow, OpenCV, and Python. This project not only showcases your ability to apply deep learning concepts but also has practical implications for improving safety in public spaces.
Also read our related blogs: