

Table of Contents
Hello Artisans!
In this blog post, we’ll walk through the process of creating a sleek and powerful admin panel using Laravel 11 and filament v3.
It is a robust content management framework that provides an array of full-stack components, enabling developers to quickly and easily set up an admin interface. It’s perfect for building scalable and beautiful admin panels in just a few steps.
Before we get started, ensure you meet the following requirements:
Prerequisites
- PHP 8.2+
- Laravel 11.0+
- Livewire 3.0+
- MySQL 8.0+
Steps for Building Admin Panel from Scratch
Step 1: Create a New Laravel Project
To get started, we’ll create a fresh Laravel project. Open your terminal and run the following command:
composer create-project laravel/laravel filament-adminThis command will generate a new Laravel project in a folder named filament-admin. Once the installation is complete, navigate into the project directory:
cd filament-adminThis will be the foundation for our admin panel.
Step 2: Configure Your Database
Open the .env file in your project root and update the database credentials:
DB_CONNECTION=mysql
DB_HOST=127.0.0.1
DB_PORT=3306
DB_DATABASE=filament-admin
DB_USERNAME=root
DB_PASSWORD=root
Now, run the migrations to set up your database schema:
php artisan migrateStep 3: Install Filament
Next, install it using Composer:
composer require filament/filament:"^3.2" -WStep 4: Install Filament Panel Builder
The panel includes several pre-installed packages, so you don’t have to worry about installing them separately. These include tools for building forms, tables, notifications, actions, info lists, and widgets.
Run the following command to install the panel builder:
php artisan filament:install --panelsYou’ll be prompted to provide an ID for the panel (app). This will generate and register a new Laravel service provider located at:
app/Providers/Filament/AppPanelProvider.php
Step 5: Create a User
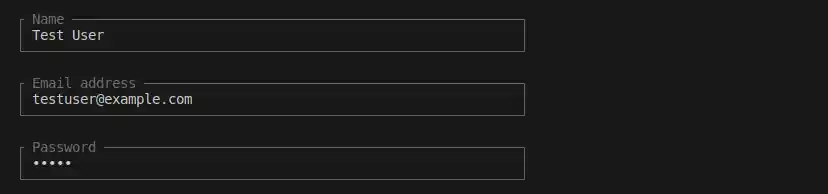
It requires a user to access the admin panel. Create a user with this command:
php artisan make:filament-userYou’ll be prompted to provide a name, email, and password for the user. Once created, these credentials will allow you to log in to the admin panel.
Step 6: Serve Your Application
To view your application, run the development server:
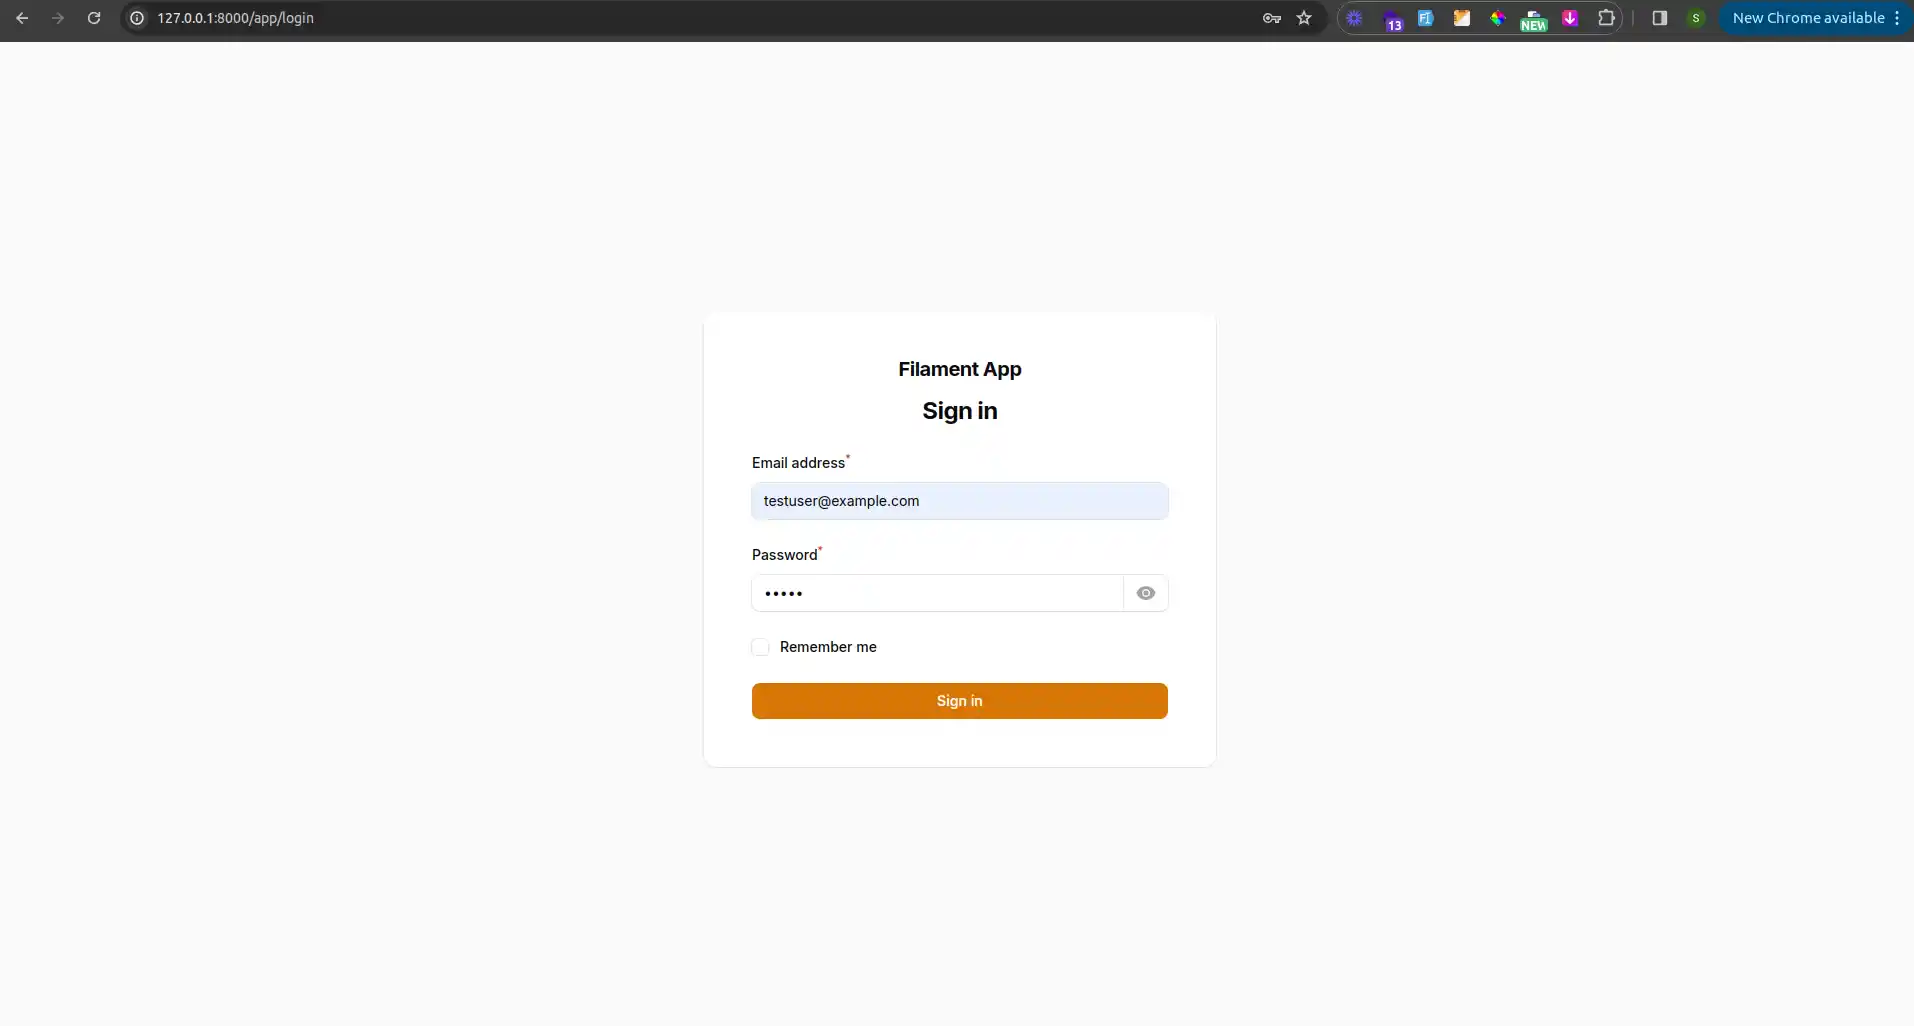
php artisan serveOpen your browser and navigate to http://127.0.0.1:8000/app. You’ll be greeted by the admin login page. Use the credentials you created earlier to log in.
To ensure your application runs smoothly and avoids CORS issues during tasks like file uploads and previews, it’s crucial that the APP_URL in your .env file matches the URL your app is being served on.
For instance, if your application is being served on http://127.0.0.1:8000, update the APP_URL line in your .env file as follows:
APP_NAME="Filament App"
APP_ENV=local
APP_KEY=
APP_DEBUG=true
APP_TIMEZONE=UTC
APP_URL=http://127.0.0.1:8000
Step 7: Add a User Resource
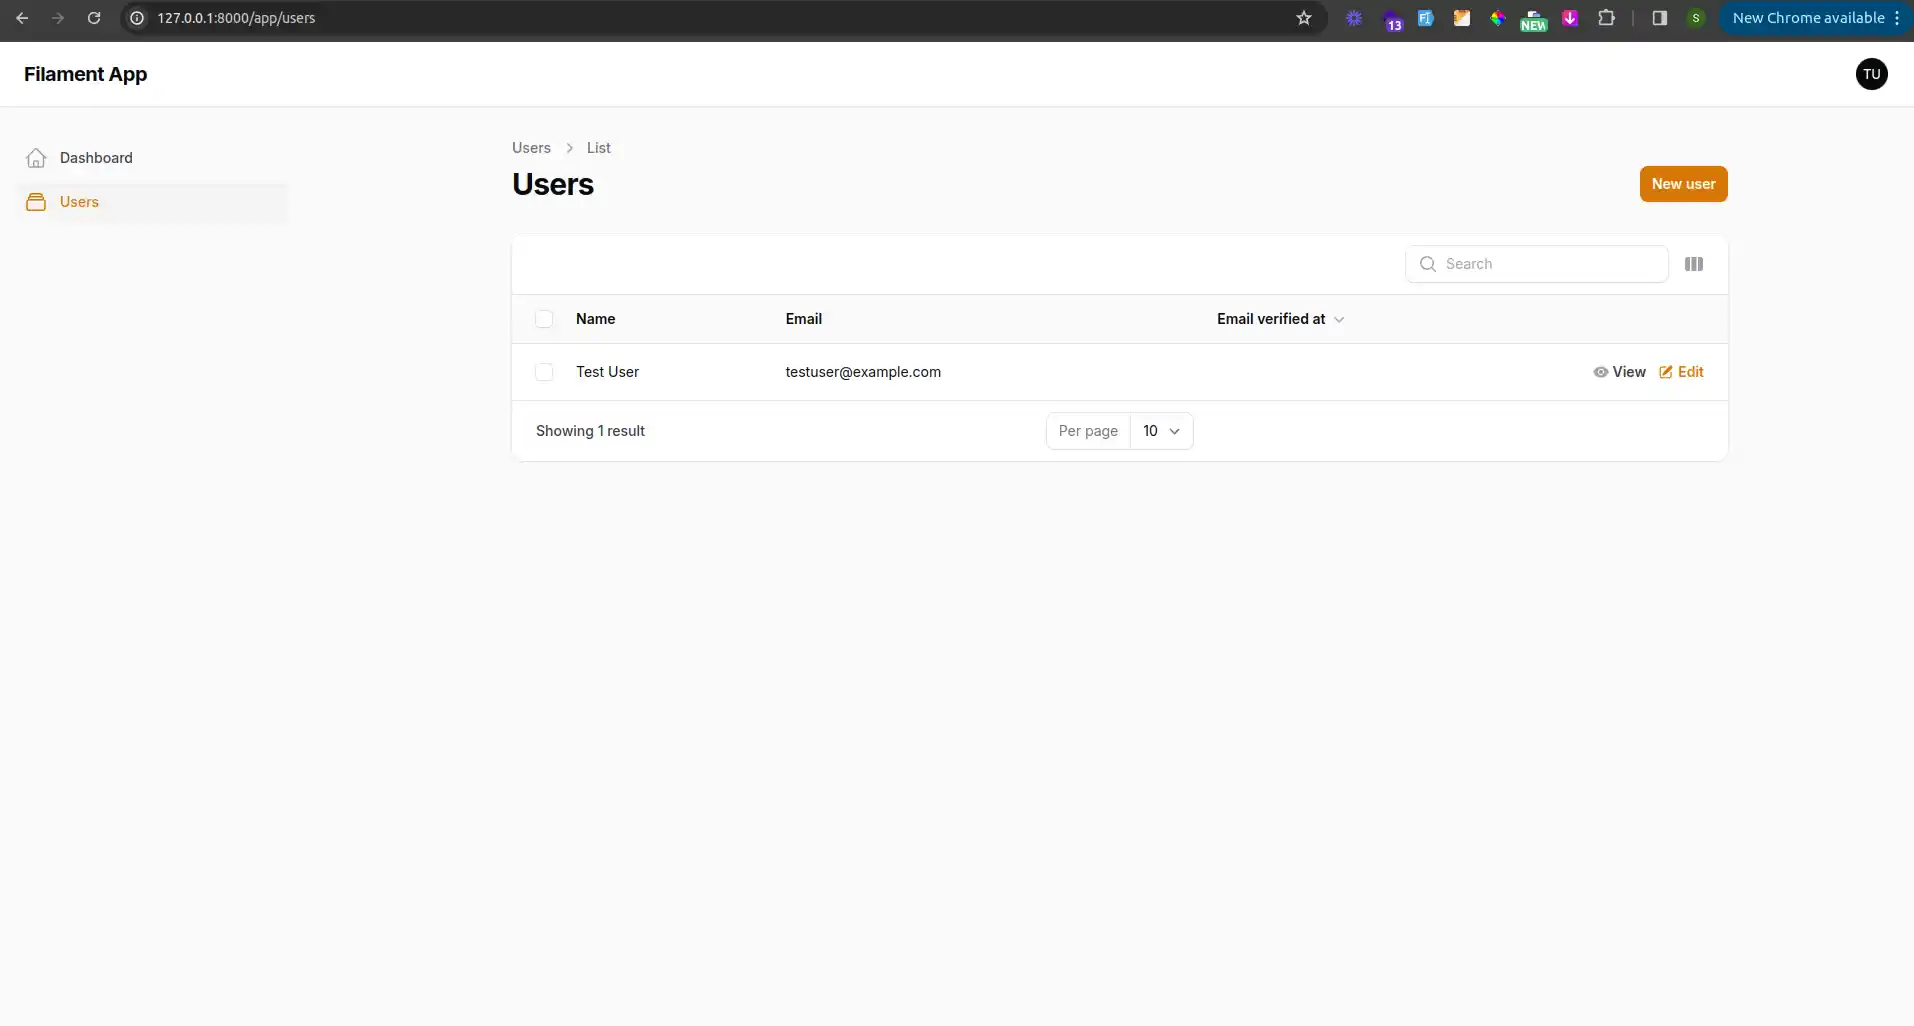
It can automatically generate resources for your models. Let’s create a User Resource:
php artisan make:filament-resource User --view --generateThis command will generate a folder structure like this:
app/Filament/
└── Resources
    ├── UserResource
    │   └── Pages
    │       ├── CreateUser.php
    │       ├── EditUser.php
    │       ├── ListUsers.php
    │       └── ViewUser.php
    └── UserResource.php
By default, It generates List, Create, and Edit pages. If you also want a View page, the --view flag includes it.
It can quickly create forms and tables for you, automatically generating them based on the database columns of your model using the --generate option.
The generated files will include customizable form and table layouts for your User model. You can tweak these files to fit your specific requirements.
Step 8: Customize and Expand
Now that the basic setup is complete, you can explore and customize your admin panel, with Laravel packages available to help you build and tailor forms, tables, and dashboards with a beautiful UI and smooth performance.
Conclusion
Congratulations! You’ve successfully built an admin panel. This setup provides a strong foundation for scaling your application and adding more features down the road. Happy coding! 🎉