Table of Contents
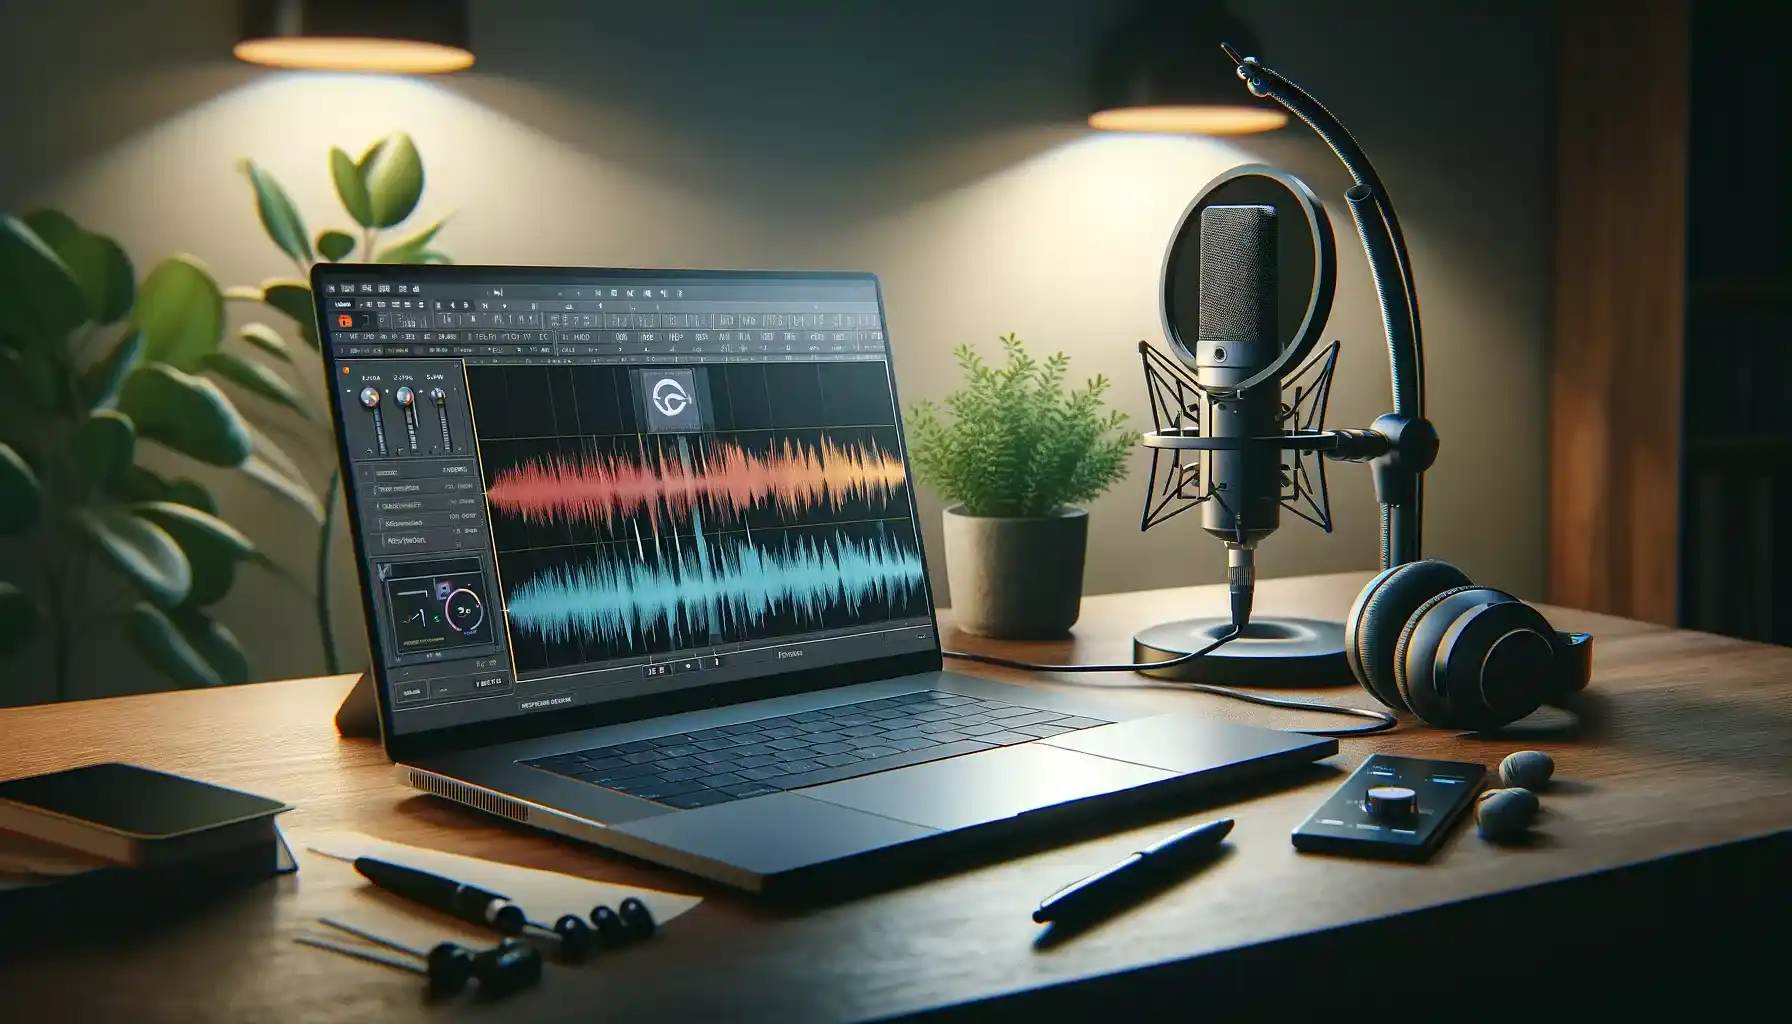
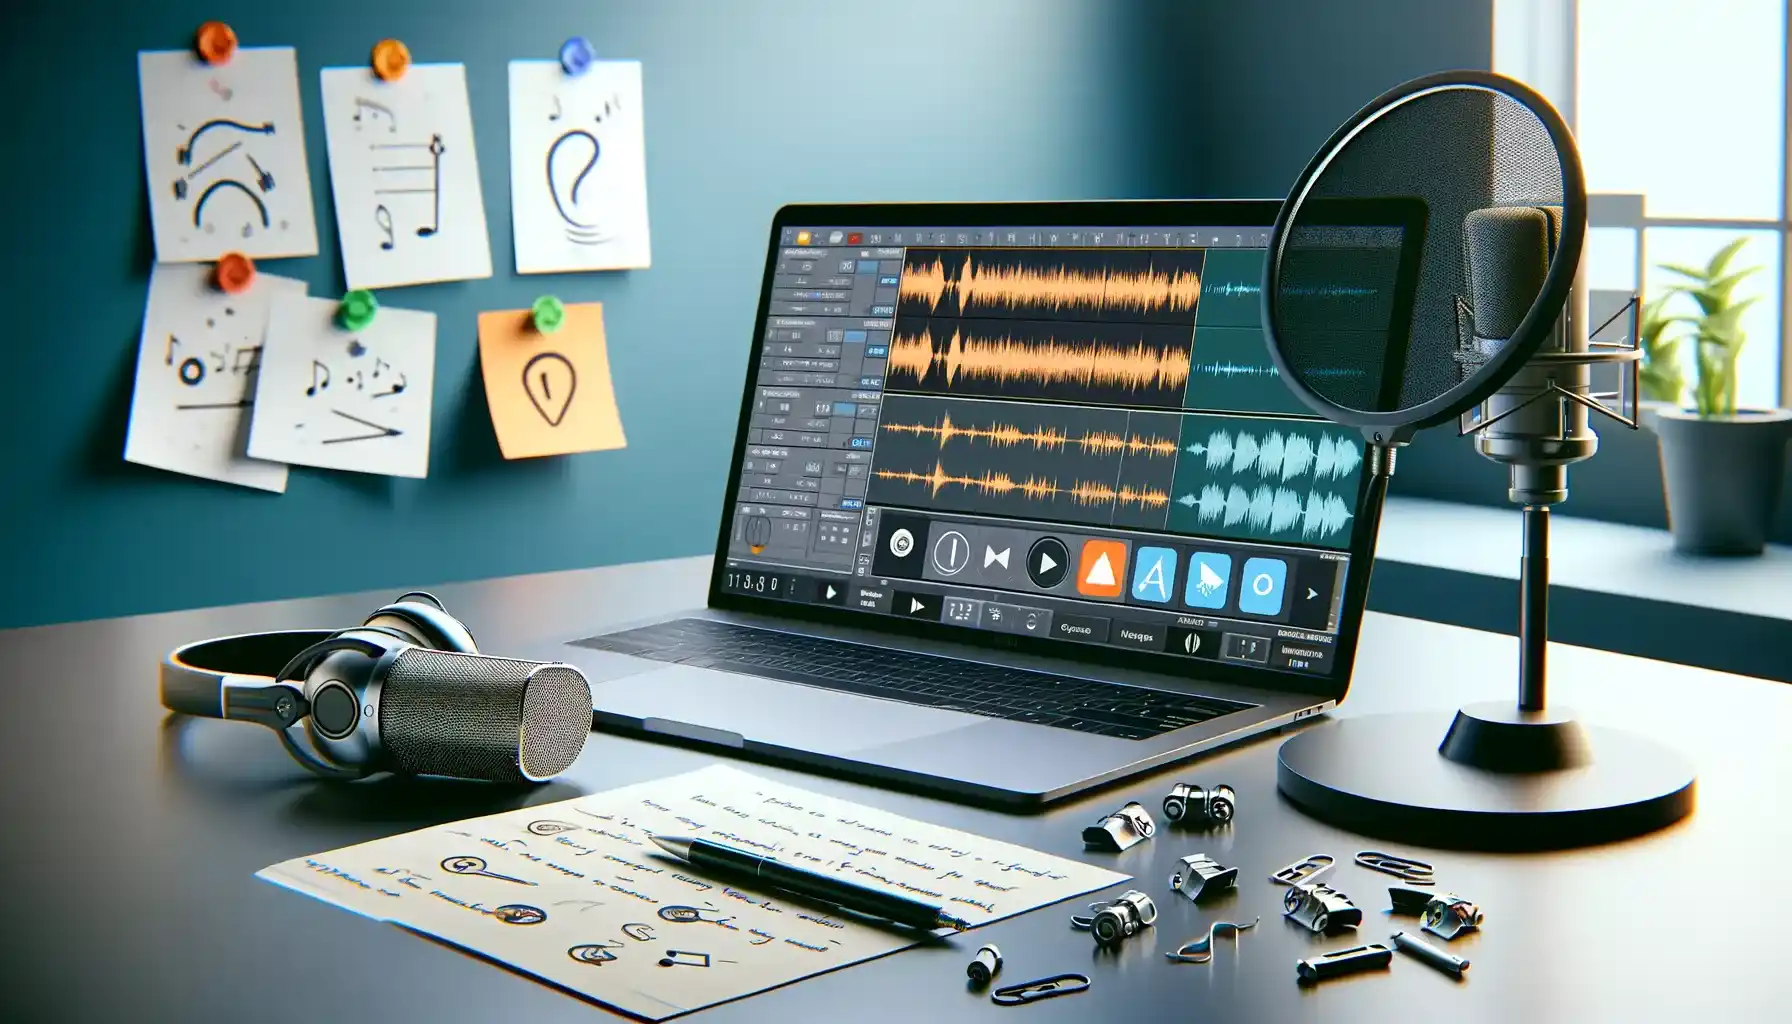
In the world of audio editing and production, achieving high-quality voice recordings is paramount. Audacity, a powerful and free audio editing software, offers a variety of tools and techniques to enhance voice quality. In this comprehensive guide, we will walk you through eight essential steps to improve voice quality in Audacity.
What is Audacity?
Audacity, a versatile, free, and user-friendly audio editor and recorder, holds the potential to significantly elevate the quality of your audio projects. This guide explores eight actionable steps to improve voice quality in Audacity.
1. Improve Voice Quality in Audacity – Eliminate Background Noise
- To truly improve voice quality in Audacity, it’s crucial to start with a clean audio canvas. Background noise, whether it’s hums, hisses, or ambient sounds, can significantly degrade the quality of your voice recordings.
- Understanding Noise Profile: The Noise Profile is essentially a snapshot of the background noise present in your recording. It captures the frequencies and characteristics of the unwanted sounds that lurk behind your voice.
How to Use Noise Profile
- Select a Silent Section: Before you can create a Noise Profile, choose a portion of your audio where only the background noise is audible. Ideally, this should be a segment where no one speaks or makes noise.
- Capture the Noise Profile: With the silent section selected, go to ‘Effect’ > ‘Noise Reduction’ > ‘Get Noise Profile.’ Audacity will analyze this section and create a profile of the background noise.

2. Noise Reduction and Krisp Integration to Improve Voice Quality in Audacity
When improving voice quality in Audacity, achieving noiseless recordings is a paramount goal. One of the most effective ways to achieve this is by integrating Krisp, a cutting-edge real-time noise-canceling tool, with Audacity.
How to Integrate Krisp with Audacity
- Download and Install Krisp: Start by downloading and installing the Krisp application on your computer. Krisp is available for both Windows and macOS, ensuring compatibility for improved voice quality in Audacity on various operating systems.
- Configuration within Audacity: Once Krisp is installed, open Audacity, and navigate to the audio settings. In the audio settings, you’ll find an option to select your microphone input. Choose the “Krisp microphone” as your input device. This step allows Audacity to use Krisp for real-time noise cancellation during your recordings.
3. Normalize Your Audio
Improving voice quality in Audacity involves not only eliminating unwanted noise but also ensuring that your audio maintains a consistent and professional level of volume. This is where the “Normalize” effect in Audacity comes into play, and it’s a crucial step in achieving a balanced and clear audio playback.
Importance of Normalization: Improve Voice Quality in Audacity by utilizing normalization, a crucial process for balancing audio levels. Voice recordings frequently exhibit volume discrepancies, ranging from excessively quiet to overly loud segments. Normalization standardizes these levels, preventing distortion or clipping in louder sections while enhancing clarity in quieter parts.
How to Normalize in Audacity: After recording or importing your audio into Audacity, follow these steps to apply normalization:
- Select the audio track or portion you want to normalize.
- Go to the “Effect” menu and choose “Normalize.”
4. Dynamic Control with Compression
One of the key steps for improving voice quality in Audacity is harnessing the power of dynamic control through the use of compression. Compression is an audio processing technique that helps maintain a consistent audio level throughout a recording. This is especially important for ensuring that your voice recordings sound polished and professional.
Enhance vocal presence and consistency with the Compression feature. Adjust settings like Threshold, Noise Floor, Ratio, Attack Time, and Release Time in Effects > Compressor to optimize audio levels and minimize background noise.
5. Fine-Tune Using the Equalizer
One of the key steps to improve voice quality in Audacity is utilizing the Equalizer feature effectively. This powerful tool allows you to precisely control and manipulate the frequency content of your audio recordings. By customizing the balance between low, mid, and high frequencies, you can significantly improve the overall clarity, warmth, and depth of your voice recordings.
- Accessing the Equalizer: In Audacity, locate the Equalizer under the “Effect” menu. Click on “Equalization” to access this feature.
- Experimentation: The Equalizer is a versatile tool, and its impact on your voice recordings may vary depending on your voice type and the recording environment.
- Saving Changes: Once you are satisfied with the Equalizer settings, click “OK” to apply them to your audio. Audacity will process the changes, and you can listen to the improved audio quality.
6. Analyze with Spectrogram
Maximize your audio editing prowess by utilizing the Spectrogram view. This visual representation of frequency bands over time aids in identifying and addressing imperfections, such as clicks and glitches, while also facilitating precise beat alignment.
7. Achieve Balanced Sound with AutoDuck
The AutoDuck effect in Audacity is your secret weapon to address this issue and significantly improve voice quality in Audacity.
When you incorporate background music or soundtracks into your audio projects, striking the right balance between your narration and these additional elements can be daunting. The AutoDuck effect simplifies this process by dynamically adjusting the audio levels in your recording, creating a balanced and polished sound profile.
8. Bass and Treble Adjustment
Refining the tonal quality of your audio recordings can be a game-changer in improving voice quality in Audacity. Audacity provides the tools to adjust both the bass and treble frequencies, allowing you to fine-tune your audio to achieve a more balanced and pleasing sound.
Conclusion
Improving voice quality in Audacity is not only achievable but also essential for creating captivating audio projects. Audacity’s versatile features, combined with the eight proven techniques we’ve discussed, empower you to take your recordings to the next level.
With dedication and practice, you’ll not only improve voice quality in Audacity but also leave a lasting impression on your listeners, making your audio endeavors truly outstanding. So, dive in, refine your skills, and let Audacity help you achieve audio excellence.