Table of Contents
You’re working on a web application. You want the sleekness of a Single Page Application (SPA), but you love the simplicity of server-side frameworks like Laravel. And here you are, caught in the middle like a sandwich filling. Enter Inertia.js, the superhero that rescues you from this dilemma.
Inertia.js is like the friendly neighbor who brings over cookies – except these cookies let you have your cake and eat it too! With Inertia.js, you can build modern SPAs using the tools you’re already familiar with. No need to wrestle with APIs or state management libraries unless you really, really want to.
So buckle up as we explore it with some fun, some simplicity, and of course, plenty of code examples to keep you engaged.
What is Inertia.js?
Inertia.js describes itself as “The modern monolith toolkit.” It’s not a framework, nor is it an API. Think of it as the glue that sticks your server-side framework (like Laravel, Rails, or Django) with a front-end framework (like Vue, React, or Svelte).
It removes the hassle of managing APIs and lets you enjoy seamless navigation, all while using the tools you already love. The best part? There’s no extra context switching. You’re still writing server-side code to fetch data and returning views, but those views are now JavaScript components.
Why Use Inertia.js?

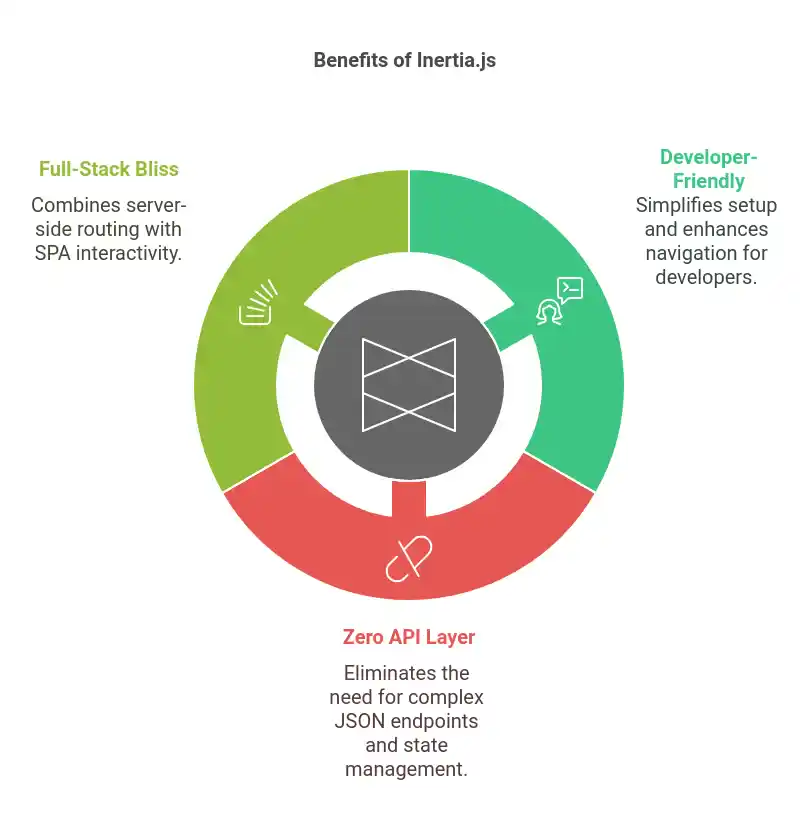
Here are three reasons to fall in love with Inertia.js:
- Developer-Friendly: Inertia makes navigation between pages feel like magic. With minimal setup, you’re ready to roll.
- Zero API Layer: Say goodbye to endless JSON endpoints and state management headaches. Inertia does the heavy lifting for you.
- Full-Stack Development Bliss: It’s like a matchmaker between front-end and back-end developers. You get the simplicity of traditional server-side routing with the interactivity of modern SPAs.
Installing Inertia.js
Ready to dive in? Let’s get started by installing Inertia.js in a Laravel application.
Step 1: Install Laravel and Set Up the Project
laravel new inertia-demo
cd inertia-demo
Step 2: Install Inertia.js
Install the Inertia server-side adapter for Laravel:
composer require inertiajs/inertia-laravelStep 3: Install Front-End Dependencies
Choose your favorite front-end framework. For this guide, we’ll use Vue.js. Run:
npm install vue @inertiajs/inertia @inertiajs/inertia-vue3Step 4: Install Front-End Dependencies
Update your app.blade.php layout to include the Inertia <div> container and the compiled assets:
<!DOCTYPE html>
<html lang="en">
<head>
    <meta charset="UTF-8">
    <meta name="viewport" content="width=device-width, initial-scale=1.0">
    <title>Inertia Demo</title>
    @vite(['resources/js/app.js', 'resources/css/app.css'])
</head>
<body>
    <div id="app" data-page="{{ json_encode($page) }}"></div>
</body>
</html>
Step 5: Set Up Vue
Create the app.js file in the resources/js folder and initialize Vue with Inertia:
import { createApp, h } from 'vue';
import { createInertiaApp } from '@inertiajs/inertia-vue3';

createInertiaApp({
    resolve: name => require(`./Pages/${name}`),
    setup({ el, App, props, plugin }) {
        createApp({ render: () => h(App, props) })
            .use(plugin)
            .mount(el);
    },
});
Building a Simple Application
Now that the setup is done, let’s build a small application to demonstrate Inertia’s power. Imagine you’re managing tasks (because who doesn’t love productivity apps?).
Step 1: Create a Task Models
Generate a Task model with migration:
php artisan make:model Task -mUpdate the migration file to include a title column:
Schema::create('tasks', function (Blueprint $table) {
    $table->id();
    $table->string('title');
    $table->timestamps();
});
Run the migration:
php artisan migrateStep 2: Create a Controller
Generate a controller for tasks:
php artisan make:controller TaskControllerUpdate the controller:
use Inertia\Inertia;
use App\Models\Task;

class TaskController extends Controller
{
    public function index()
    {
        $tasks = Task::all();
        return Inertia::render('Tasks/Index', ['tasks' => $tasks]);
    }

    public function store(Request $request)
    {
        $request->validate(['title' => 'required']);
        Task::create($request->only('title'));
        return redirect()->route('tasks.index');
    }
}
Step 3: Create Routes
Update your web.php routes:
use App\Http\Controllers\TaskController;

Route::get('/tasks', [TaskController::class, 'index'])->name('tasks.index');
Route::post('/tasks', [TaskController::class, 'store'])->name('tasks.store');
Step 4: Create Vue Components
Create the Tasks/Index.vue file:
<template>
    <div>
        <h1>Task Manager</h1>
        <form @submit.prevent="submit">
            <input v-model="form.title" type="text" placeholder="New Task" />
            <button type="submit">Add Task</button>
        </form>
        <ul>
            <li v-for="task in tasks" :key="task.id">{{ task.title }}</li>
        </ul>
    </div>
</template>

<script>
import { useForm } from '@inertiajs/inertia-vue3';

export default {
    props: {
        tasks: Array,
    },
    setup() {
        const form = useForm({ title: '' });

        const submit = () => {
            form.post('/tasks');
        };

        return { form, submit };
    },
};
</script>

<style>
/* Add some basic styling */
</style>
What Makes Inertia Special?
Here’s what you’ll notice:
- Minimal Effort: You’re working with server-side data as if it’s a regular view, but it’s dynamic and interactive.
- No Client-Side Routing: Laravel handles routing for you, so no need to define front-end routes.
- State Management Simplified: No need for Vuex, Redux, or other state libraries.
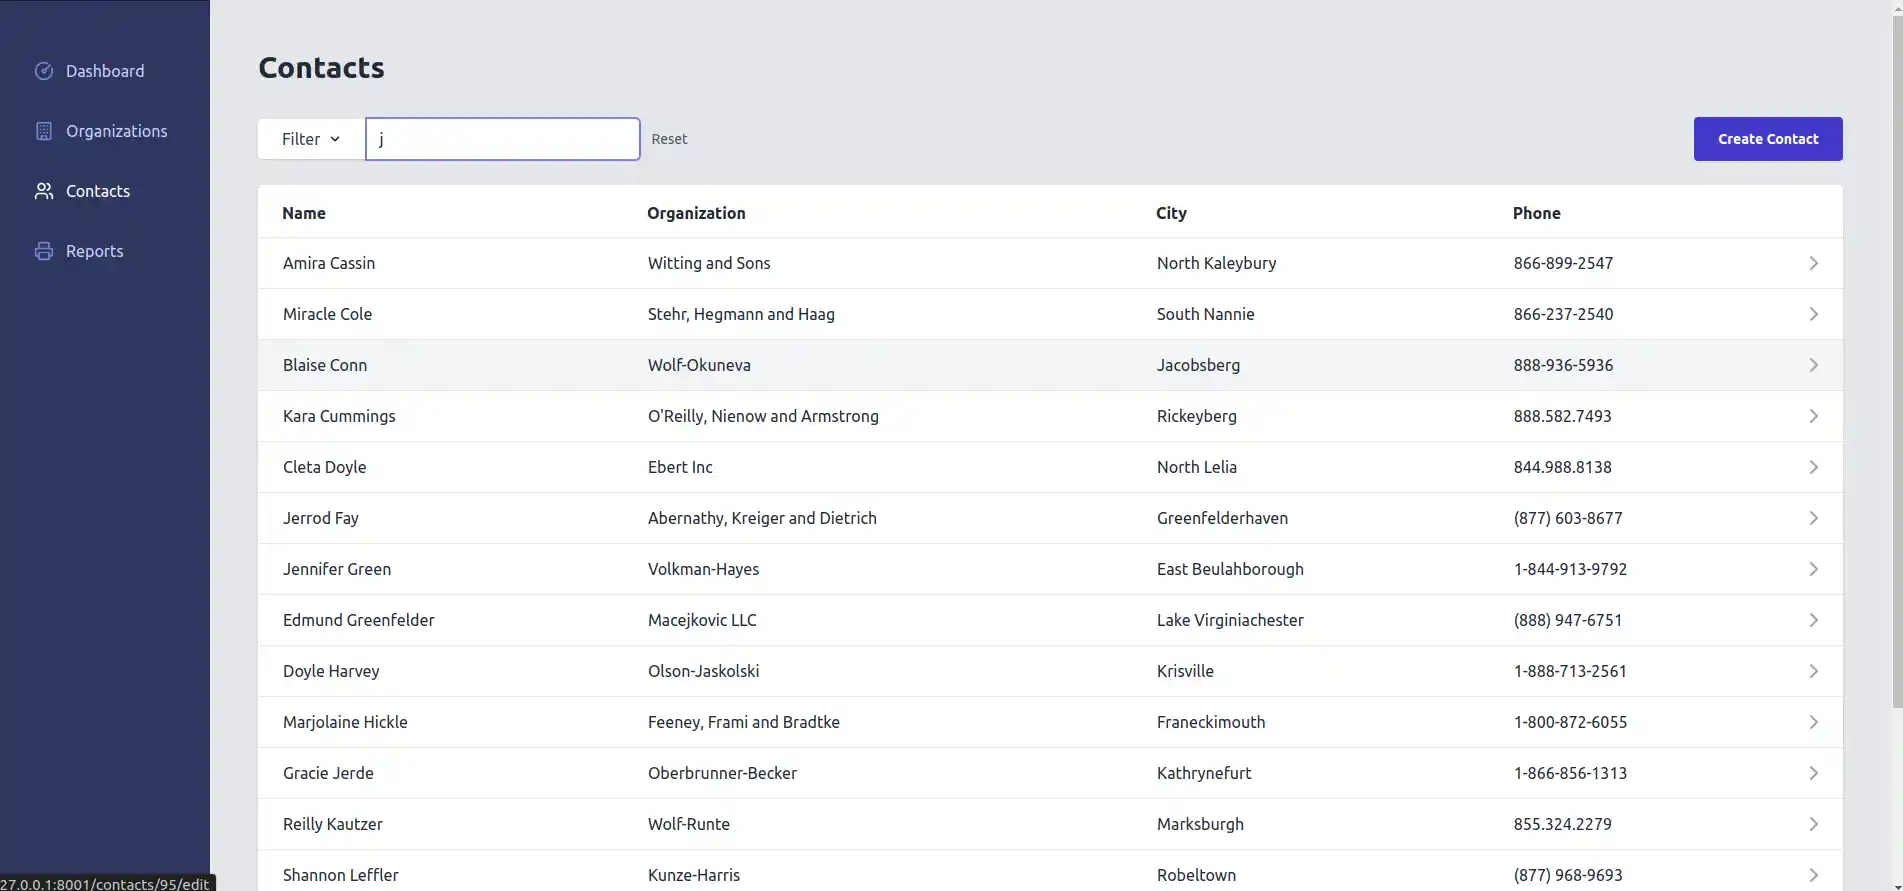
Find the Demo
Here’s the demo :

Conclusion
Inertia.js is the perfect bridge between the old and the new. It lets you build SPAs without giving up the simplicity of your favorite server-side framework. Plus, it’s beginner-friendly and fun to use.
So, next time you’re stuck in the middle of SPA and SSR debates, remember Inertia.js – the sweet spot where everyone wins. And hey, if Inertia.js could talk, it’d say, “Why choose one when you can have both?”