Table of Contents
In the fast-paced world of modern software development, efficiency and reliability are paramount. Docker images have become essential to developing and deploying containerised applications, acting as the blueprint for creating consistent, portable environments that work across different platforms. However, Docker images that are not properly optimised can quickly become bloated in size, slow down development and deployment processes, and even expose security risks.
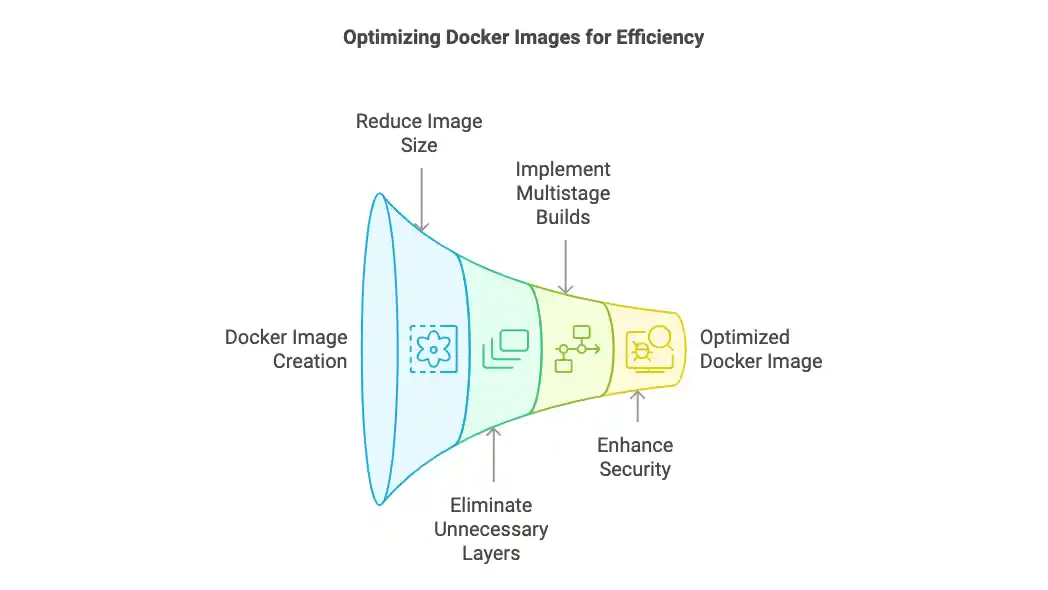
This guide will equip developers and DevOps professionals with actionable insights to optimize Docker images effectively. By streamlining the Docker image creation process, you can achieve faster builds, reduced resource usage, and improved security—from development to production.
Optimising Docker Images is crucial for developers working with containerised applications. Docker images contain all the dependencies, libraries, and configurations needed to run your application. Optimising these images ensures that they remain lightweight, efficient, and secure throughout their lifecycle. In this guide, we will explore actionable tips that help reduce Docker image sizes, eliminate unnecessary layers, and leverage multistage builds for creating production-ready images.
Why Optimize Docker Images?
Optimising Docker images offers a range of benefits, including faster build times, more efficient resource usage, enhanced security, and improved scalability. Let’s break down the primary reasons why optimisation is critical:
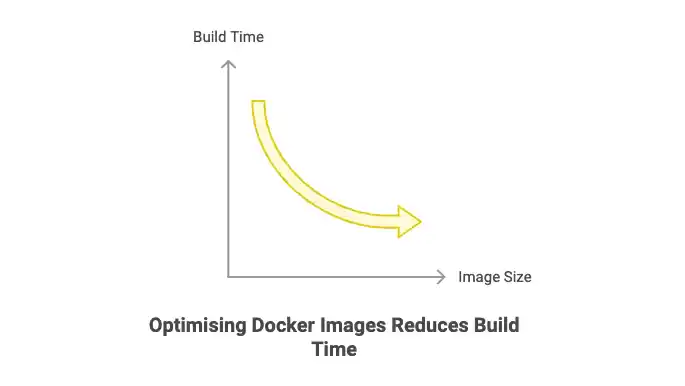
- Reduced Build Time: Optimising Docker images results in smaller image sizes, which directly translates to faster build times. Smaller images also reduce the time required for pulling images during deployments or CI/CD processes.
- Efficient Resource Usage: Images with smaller sizes use less disk space, memory, and bandwidth, which is crucial for cloud environments where resources are often billed based on usage. In addition, smaller images reduce the cost of storage and networking bandwidth, making them highly efficient in large-scale deployments.
- Improved Security: By reducing unnecessary layers and components, optimised Docker images have fewer attack surfaces, which lowers the likelihood of security breaches. Removing outdated or unnecessary libraries can also help prevent vulnerabilities that might be exploited in unoptimised images.
- Scalability: Lightweight Docker images enable faster scaling in production environments, as they take less time to launch, and orchestration systems like Kubernetes can manage them more effectively. This is particularly important in cloud-native applications where rapid scaling is a key requirement.
1. Choose the Right Base Image
The base image is the foundation of your Docker image. Selecting an appropriate base image significantly impacts the size, performance, and security of your final image. The choice of base image can make or break the efficiency of your Docker containers.
- Use Minimal Base Images: Opt for smaller, minimal base images like
alpine, which is around 5 MB, compared to the much largerubuntubase image, which can be upwards of 70 MB. Alpine provides a small footprint while still being a full-fledged Linux environment that supports a wide range of programming languages and frameworks.
# Example: Using Alpine as the Base Image
FROM alpine:latest
RUN apk add --no-cache python3 py3-pip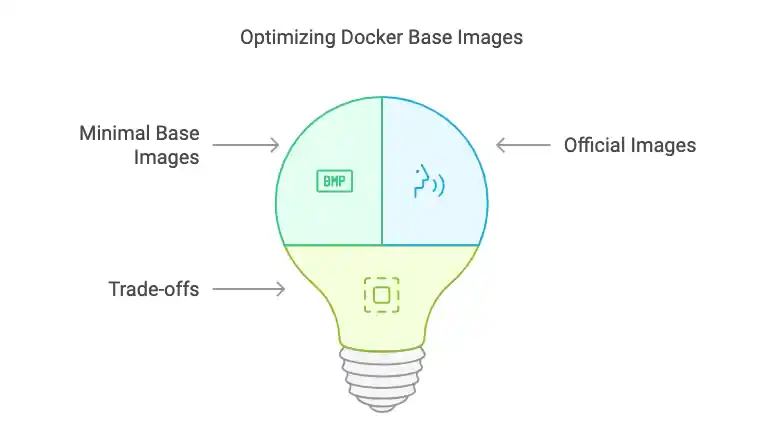
Alpine is a great option for many applications because it minimizes the attack surface, provides excellent speed, and is well-supported by the community.
- Consider Official Images: It is often a good idea to use official, well-maintained images from trusted sources like Docker Hub. Official images are regularly updated, which means they come with security patches and other improvements, reducing the risk of vulnerabilities. Always check the image’s metadata and ensure that the image is actively maintained before using it in production.
- Understand the Trade-offs: Sometimes, a more feature-rich base image like Ubuntu or Debian might be necessary, especially when specific tools or libraries are required for your application. If you need a larger base image, consider stripping out unnecessary components later in the Dockerfile to reduce the final image size.
2. Remove Unnecessary Files
One of the most common issues with Docker images is the inclusion of unnecessary files and directories. These can dramatically increase the image size, including local development artefacts, log files, build files, or other unnecessary components.
- .dockerignore: Just as
.gitignoreis used to ignore files from version control, the.dockerignorefile allows you to exclude files and directories from being added to the image. This can prevent unnecessary files from making their way into the image build context.
# Example: .dockerignore file
node_modules
*.log
.cache
*.git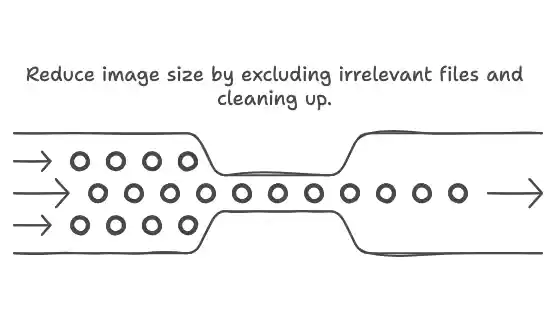
Adding .dockerignore is critical to prevent sensitive or irrelevant files from being bundled into the image. These files may not be needed for the application to run and can unnecessarily increase the size of the image.
- Clean-Up Temporary Files: During the image build process, temporary files, build-time artefacts, and other transient files should be removed to ensure a clean and efficient image. Running commands like
rm -rf /var/lib/apt/lists/*after installing packages helps keep the image clean.
# Clean up unnecessary temporary files
RUN apt-get update && apt-get install -y build-essential \
    && rm -rf /var/lib/apt/lists/*
By doing this, you remove files that were only needed during the image build process and are no longer necessary for the final image.
3. Minimize Layers
Each RUN, COPY, or ADD instruction in a Dockerfile creates a new layer in the final image. Docker images are built layer by layer, and each layer adds to the overall size of the image. Reducing the number of layers can significantly reduce the size of your image.
- Combine Commands: To minimize the number of layers, try to combine commands wherever possible. For example, instead of running multiple
RUNcommands, you can combine them into a single command.
# Combine RUN commands to minimize layers
RUN apt-get update && apt-get install -y \
    curl \
    git \
    && rm -rf /var/lib/apt/lists/*
This reduces the number of layers while maintaining the readability and functionality of the Dockerfile.
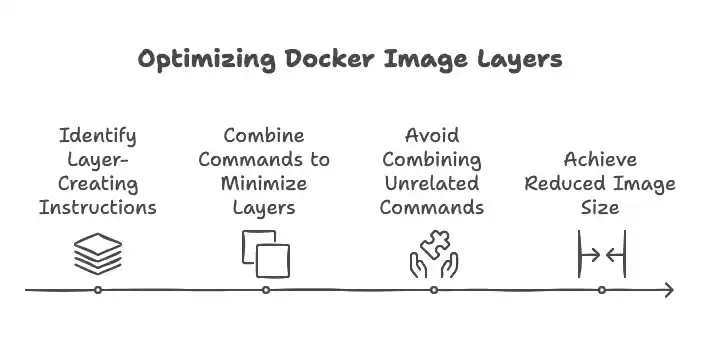
- Avoid Combining Unrelated Commands: While it’s important to minimize layers, avoid combining unrelated commands into one layer. Doing so can reduce readability, complicate debugging, and make it harder to pinpoint issues when they arise.
4. Leverage Multistage Builds
One of the most powerful features Docker offers for optimising images is the multistage build. With multi-stage builds, you can use intermediate stages to compile or build your application and then copy only the necessary files into the final, minimal image.
- Create a Build Environment: In the first stage of the multistage build, use a larger image with all the build tools you need. Once your application is built, copy only the essential files into a second stage that uses a minimal base image.
# Multistage Build Example

# Stage 1: Build
FROM node:16 as build
WORKDIR /app
COPY package*.json ./
RUN npm install
COPY . .
RUN npm run build

# Stage 2: Production
FROM nginx:alpine
COPY --from=build /app/build /usr/share/nginx/html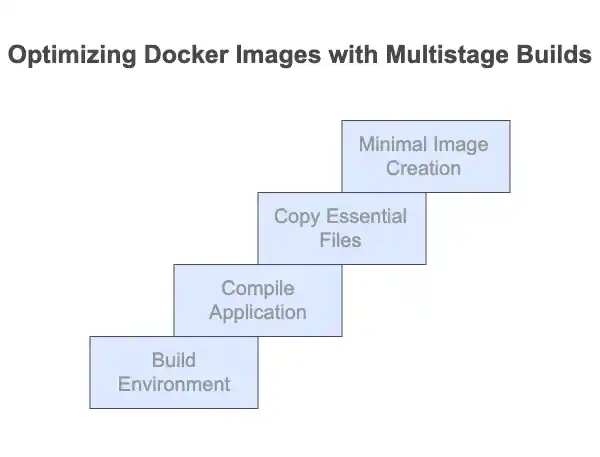
In this example, the first stage (build) installs dependencies and builds the application, while the second stage (production) uses the lightweight nginx:alpine image and copies over the built assets. The final image only includes the production-ready files, and the build tools are not included, leading to a smaller and more secure image.
5. Use Cached Layers Effectively
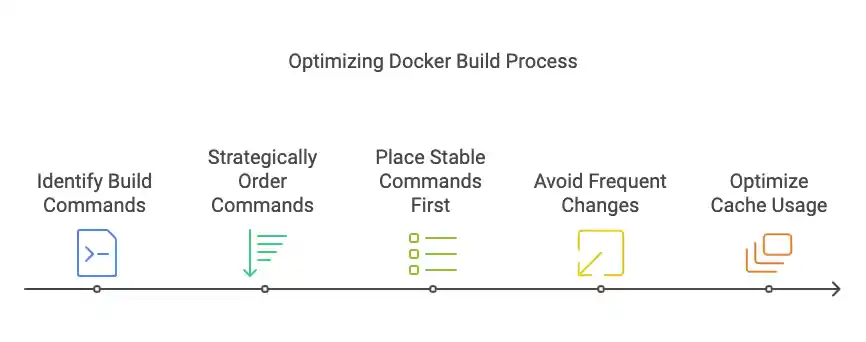
Docker’s caching mechanism speeds up the build process by reusing previously built layers, but it’s essential to use it effectively to avoid invalidating the cache unnecessarily.
- Order Commands Strategically: Place instructions that change infrequently (e.g.,
RUN apt-get install) before those that change frequently (e.g.,COPYcommands). This ensures Docker can reuse cached layers for parts of the image that haven’t changed.
# Install dependencies first to leverage caching
COPY package.json package-lock.json ./
RUN npm install
COPY . ./
By organising the Dockerfile in this way, Docker only needs to reinstall dependencies when the package.json or package-lock.json file changes, rather than every time the source code changes.
- Avoid Cache Invalidation: Avoid making changes that would invalidate the cache unnecessarily. For instance, avoid frequently modifying the
COPYcommand with large files that change often. Docker will have to rebuild the entire layer, increasing build time.
6. Optimize Image Dependencies
Optimising image dependencies ensures that only essential components are included in the final image while unnecessary tools are removed.
- Use Slim Versions: Many official images provide slim versions that strip out unnecessary components. For example,
python:3.9-slimcontains the necessary runtime but lacks build tools, reducing the image size. - Remove Development Tools: If your build tools or compilers are not needed for the runtime, remove them after building your application. This ensures that your final image contains only the minimal set of dependencies required to run your application.
# Install and remove build tools
RUN apt-get update && apt-get install -y build-essential \
    && pip install -r requirements.txt \
    && apt-get remove -y build-essential \
    && rm -rf /var/lib/apt/lists/*
By removing unnecessary tools, you reduce the risk of leaving security vulnerabilities in your image and improve its efficiency.
7. Scan Images for Vulnerabilities
Security is a top priority in containerised environments. Docker images can contain vulnerabilities that pose risks to your application. Regular scanning helps detect and address these issues.
- Docker Scan: Docker’s built-in
docker scantool, powered by Snyk, analyzes images for known vulnerabilities:
docker scan your-image:tag - Third-Party Tools: Tools like Trivy, Snyk, and Anchore offer more advanced and customisable scanning capabilities.
trivy image your-image:tagTips for Scanning:
- Automate scans in CI/CD pipelines for continuous security monitoring.
- Use official, trusted base images to minimize vulnerabilities.
8. Use Labels for Metadata
Labels provide metadata for your Docker images, making them easier to manage and automate in CI/CD pipelines.
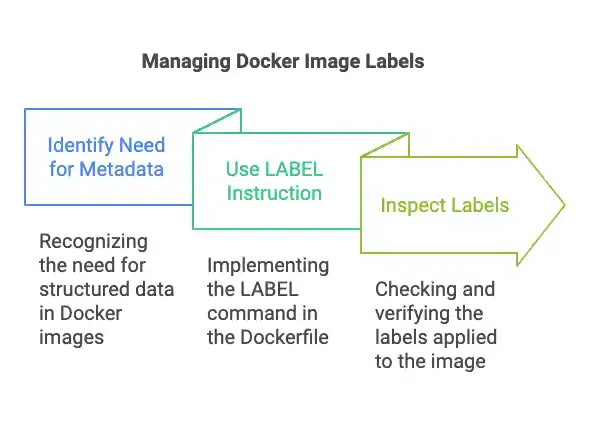
- Adding Labels: Use the
LABELinstruction in your Dockerfile:
LABEL maintainer="youremail@example.com"
LABEL version="1.0"
LABEL description="Optimized production image"
LABEL build_date="2024-12-20"- Inspect labels using:
docker inspect your-image:tag 9. Regularly Update Base Images
Outdated base images can introduce vulnerabilities and compatibility issues. Regular updates ensure security and performance.
How to Update Base Images
- Use tools like Dependabot to automate base image monitoring and updates.
- Manually pull updates from Docker Hub:
docker pull your-base-image:tagTips for Base Image Updates
- Test updates in a staging environment to avoid breaking changes.
- Integrate updates into your CI/CD pipeline for seamless maintenance.
10. Test Your Images
Before deploying, thoroughly test your Docker images to ensure they work as expected in production-like environments. Tools like test containers can help automate this process.
Key Test Types
- Unit Tests: Test individual application components.
- Integration Tests: Ensure services work together as intended.
- Load Tests: Measure performance under real-world conditions.
Conclusion
Optimising Docker Images is a critical step in building efficient, secure, and scalable containerised applications. By selecting lightweight base images, minimising layers, and leveraging multistage builds, you can significantly improve build times and reduce resource usage. Remember to regularly scan your images for vulnerabilities and update dependencies to keep your applications secure and reliable.
By following these best practices, you can ensure that your Docker images are production-ready, enabling smoother deployments and enhanced performance across your development lifecycle. Start applying these tips to your projects today and experience the difference optimised Docker images can make! For further insights, check out our resources on container security and advanced Docker techniques.
For a deeper understanding of the differences between Docker and virtual machines, check out our detailed guide: Docker vs. Virtual Machines: Key Differences Explained.
READ MORE:
7 Game-Changing and Visual Differences Between Docker and Virtual Machines You Absolutely Must Know
7 Best Docker Alternatives: Exploring the Future of Containerization